To create a shared Google calendar you will need to create a new calendar first and then share it with the relevant people. Please note you can only create/share calendars from a browser and not from the Google Calendar app.
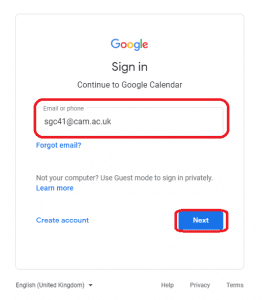
- Open Google Calendar and enter your @cam email address and click Next as below:
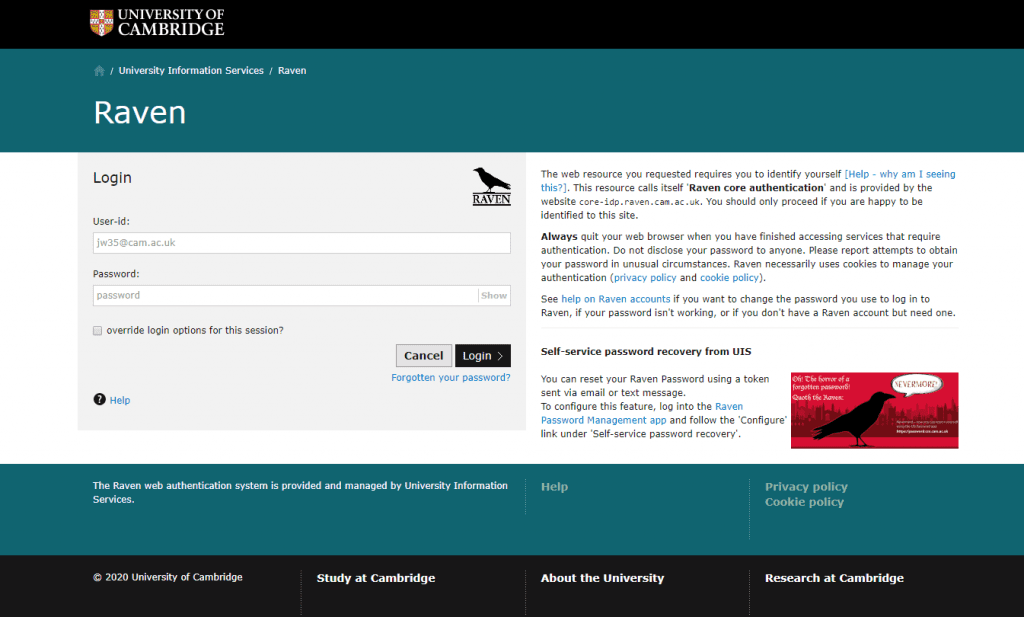
 You should then be redirected to the Raven login page where you will need to enter your CRSid and Raven password as below:
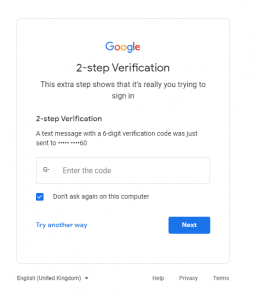
If you have 2-step Verification turned on for your account you will then be asked to enter the 6-digit verification code as below:
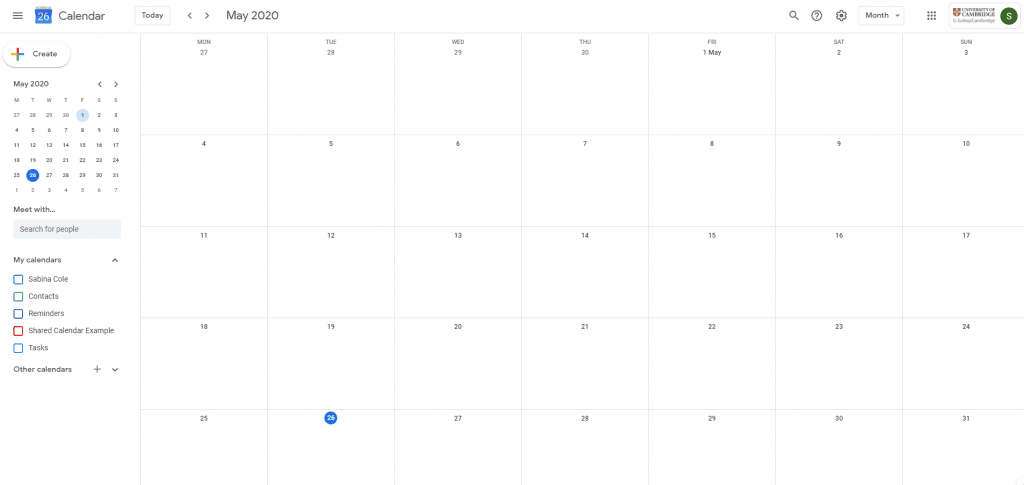
Once logged in you should be able to see your Google Calendar as below:
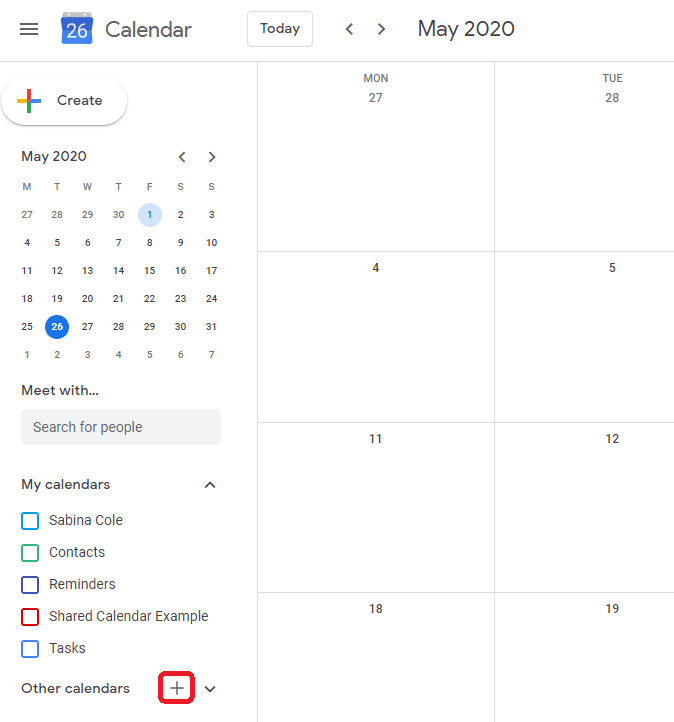
- To create a new calendar you will need to click the
 next to ‘Other calendars’ on the menu to the left-hand side, as below:
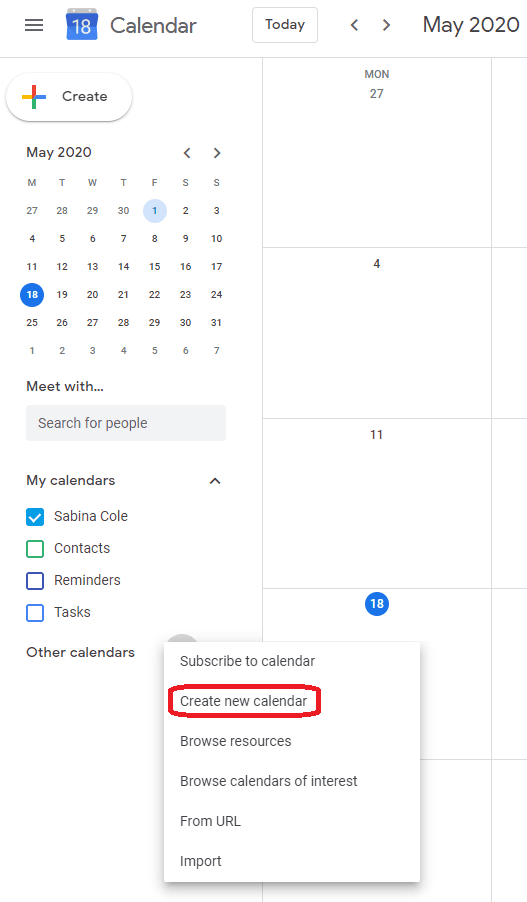
 You should then click Create new calendar from the menu as below:
- Next you should be taken to the ‘Settings’ page for the new calendar, as below:
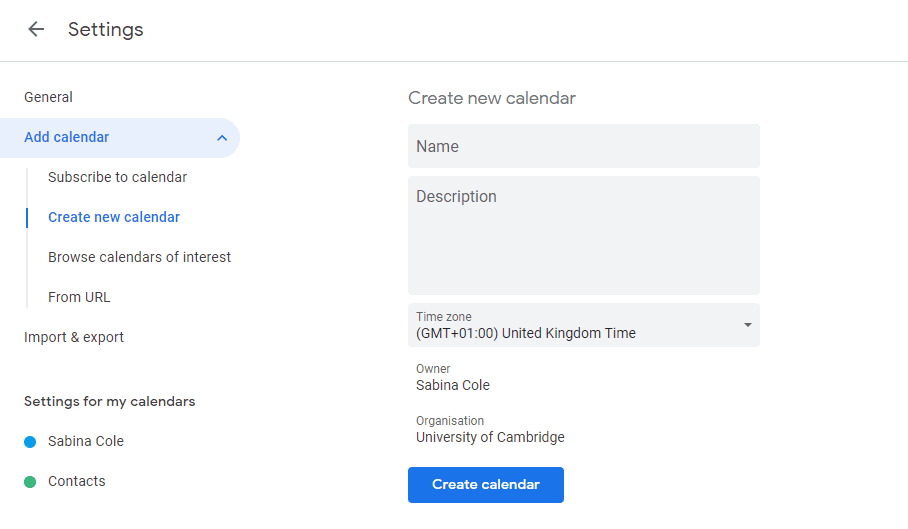 From here you can give your calendar a ‘Name’ and a ‘Description’ as well as set the ‘Time zone’. In this example we are going to name the calendar ‘Shared Calendar Example’. When you are ready to create the calendar click the Create calendar button as below:
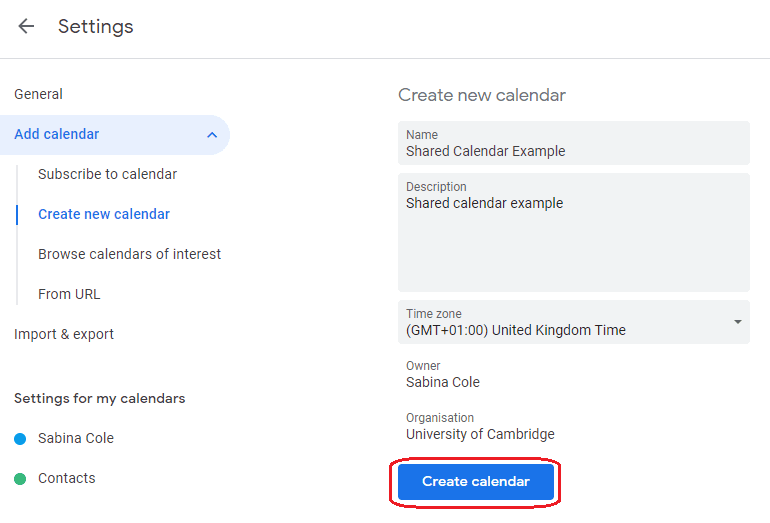
Whilst your calendar is being created you will be taken back to your calendar view and there will be a notification at the bottom of the page as below:
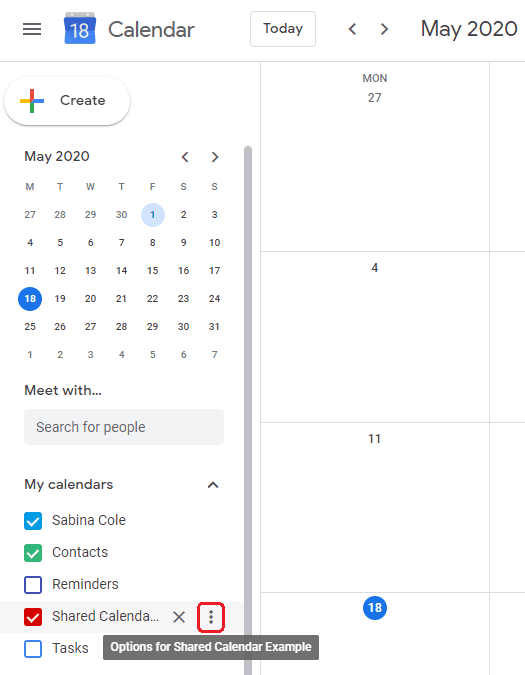
- Once your calendar has been created you will be able to view it under ‘My calendars’ on the menu to the left-hand side. From here you will need to hover your mouse over the calendar you would like to share and click the ellipsis, as below:
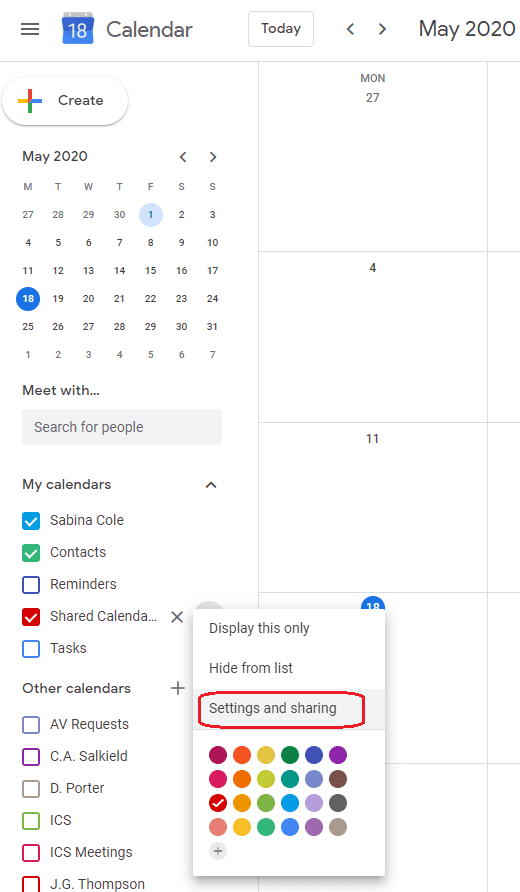
 From the menu click Settings and sharing as below:
- You should now be taken to the ‘Settings’ page for the calendar. To share the calendar you will need to select Share with specific people from the menu on the left-hand side as below:
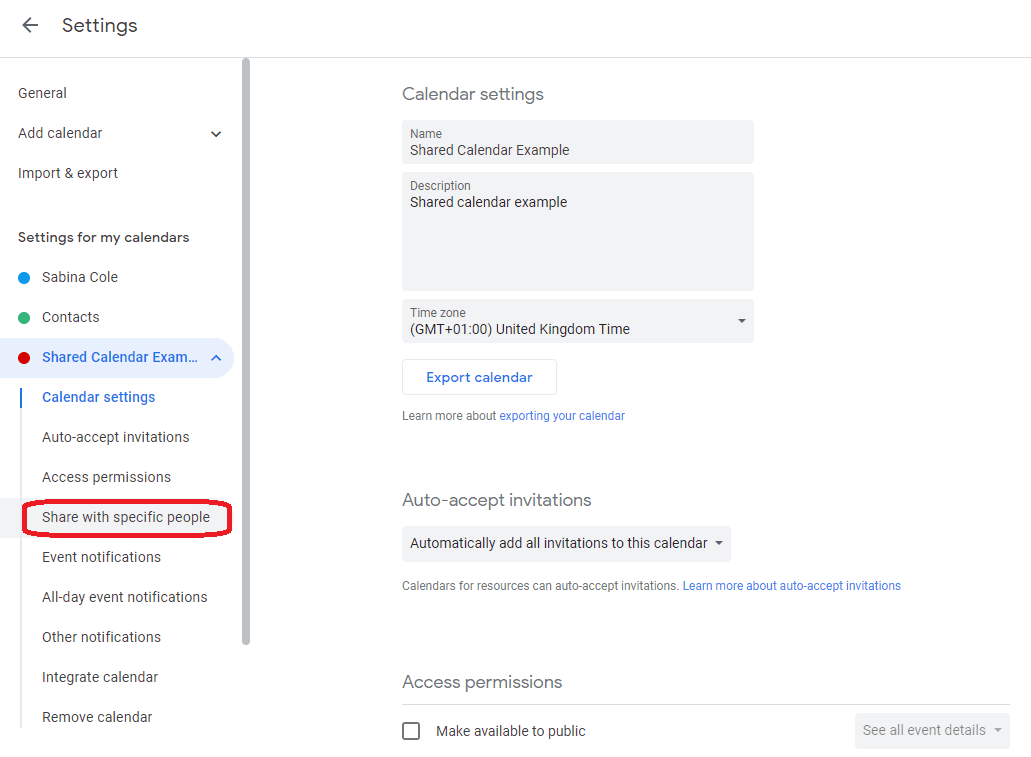 From here you will be able to share the calendar by clicking the + Add people button as below:
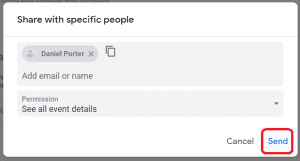
- In the ‘Share with specific people’ window, enter the name or email address of anyone you want to share the calendar with, as below:
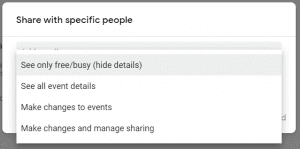
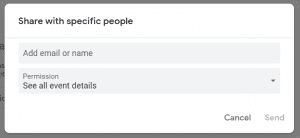 Please note that you can add multiple people at once.You can also change the ‘Permissions’ for the people that you are sharing the calendar with as below:
When you are ready to share the calendar click Send as below:
This will send an email to all the recipients you have chosen to share the calendar with.

 Computing help and support